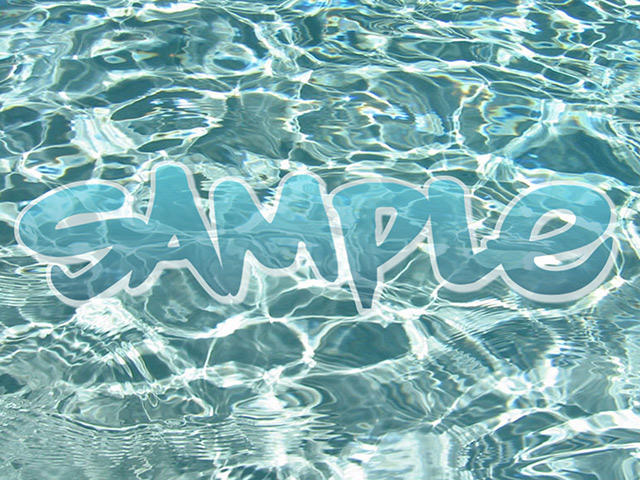
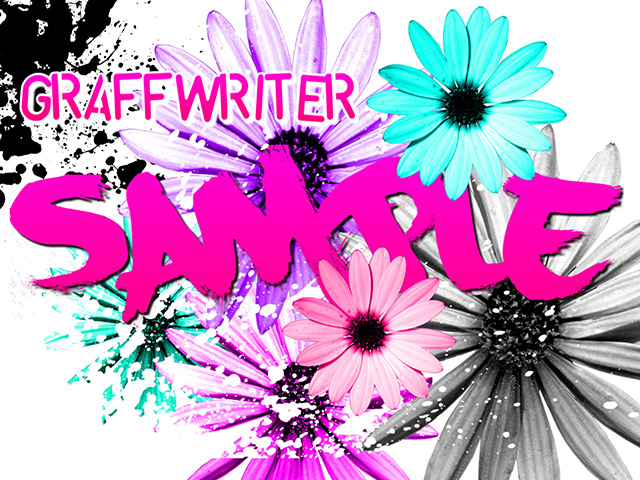
Graffwriter - Free Online Graffiti GeneratorCreate custom, graffiti artwork for free. Powered by the official "Graffiti Fonts collection |
Graffwriter - Free Online Graffiti GeneratorCreate custom, graffiti artwork for free. Powered by the official "Graffiti Fonts collection |

Direct Email Contacts
Graffwriter™ is a product of |
To get learn more about anything in the app, use the help button. If you tap it, it will give you help on the most recently pressed button or command.
Selected items are surrounded by a yellow dotted outline, and while an item is selected, only that item can be changed or moved.
To un-select an item, tap it once inside the yellow dotted outline. When no item is selected, any item may be changed or moved.
To select an item, tap it once, and the yellow dotted outline will appear. To select a different item when one is already selected, un-select the first tiem and then select the other item.
If you have many items on the screen, or large items that fill the screen, it might be hard to tap the item you want to select. In that case, you can use the Layers button to select the item.
Only one item may be selected at any time.
To enter any desired word or phrase simply tap "text" then tap "new text". The keyboard will appear. Enter your text and hit "done". Your text will appear on the screen using the last selected font.
To edit an existing piece of text, select the desired text object by tapping it once, and then tap "text", and then tap "edit" to change the text.
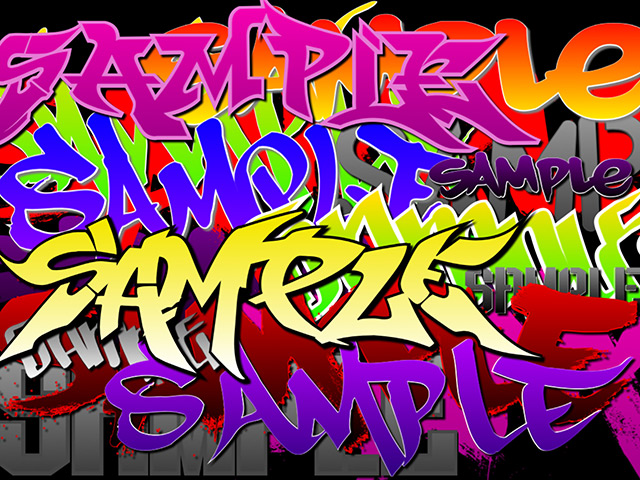
To change the font of text, or to select a font for the next text, tap Text. The current font is at the far right end of the toolbar. If you tap the font name (which is always written using itself), it will automatically select the next font in the fonts that came preloaded with the app or the fonts that you have purchased for use in the app. Tap the button until you get the font you want, or until you get tired of tapping.
If you change the font while a piece of text is selected, the text will be displayed in the new font.
If you press and hold the font instead of tapping, you will see the font picker, which allows you to select from any font you already have access to, purchase new fonts, and to download new content.
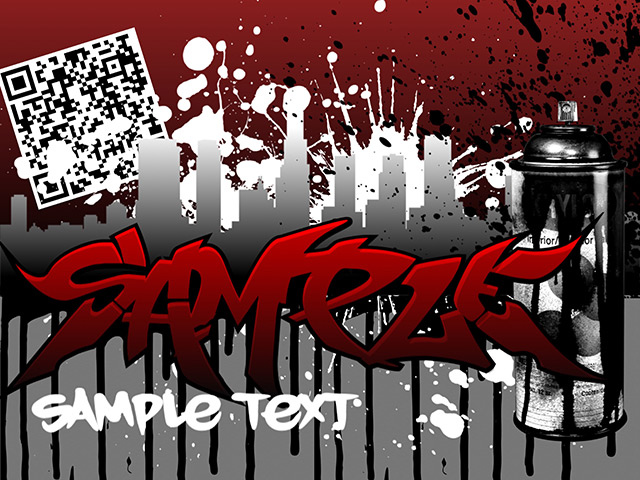
You can think of QR codes, or Quick Recognition codes, as another font that you can use. You can change the text in a QR code the same way you edit the words that have a regular font with them, by selecting the QR code that you want to change, and then tapping the TEXT button, and then the EDIT TEXT button. You can also use this method to see what the QR code says, if you have forgotten.
To add artwork, paint splatters or stencils from Graffwriter into your image just tap "art" then tapping "clip art", "stencils" or "paint". A menu will appear showing all of the available artwork for the category that you selected.
To add an image to your design, tap "images". You can then choose to add a background image a city skyline from the Graffitifonts collection, or any image from your device. Just tap "backgrounds", "CityScapes" or "My Photos" then select the image you want from the picker.
Adding your own image to the design is as simple as tapping "images" then tapping "my photos". You will be able to select from your personal Gallery of images on your device.
Graffitifonts fonts, stock images, stencils, clip art and backgrounds are all obtained through pickers. The pickers show you what fonts and artwork are available immediately for use in your artboard, what fonts and artwork you can purchase and download for use in your artboard, and whether there is new art, either free or for purchase, for use in the app.
The items that you can use immediately are in the top of the picker, and if you tap any of them, they will be selected for use and you will return to the artboard.
The items you can purchase for use in the app are below, and if you tap any of them, you get a closeup of the item, a price, and buttons you can use buy it for in-app use or commercial use.
In each image, art or font picker, in the upper left hand corner is either a blank button, a red label that says "Get New Stuff!", or a green label that says "New Stuff".
When the label reads "Get New Stuff!" in red, this means that there is an art content update from the Graffitifonts website that you can download. If you press the button, the download will start, at no charge to you.
When the label reads "New Stuff!" in green, your new content has been downloaded and ready to use, and you will see it in the pickers. Any free content in the download will be immediately available.
This art content update will contain a mix of free items that you can use immediately, and new for-purchase items that you can purchase for the app using the pickers.
Each item you add has its own layer, and the layers are stacked on top of each other. If you want to change which layer is on top, or to move one layer behind another layer, use the Layer button. Tap the graphic button on the far right of the toolbar to get to the Layer screen.
To move a layer in front of or behind another layer, locate the layer you want to move, and drag it up or down by pressing on the grip at the right margin, and dragging up or down. To delete a layer, unlock the layer by tapping its button on the far left to reveal the delete button, and then touch the delete button.
To simple select a layer and put a yellow border around it, tap the layer in the middle, and the layer will be selected and you will be returned to the artboard
To change the two fill colors of an object first make sure the object is selected, and then tap "Edit". The two fill colors, labelled F1 and F2 on the toolbar may be changed by tapping them to get to a color picker.
You will have 2 other colors you can change on text: the shadow color and the stroke color, which are labelled Shd and Str on the toolbar.
If you are editing a piece of text, you will also be able to change the width of the stroke, by tapping the width button.
You will also be able to control the transparency of the text, by tapping the button that is labelled with a percentage (it starts at 100%). Note that if you make the text completely transparent, it will be invisible (even the yellow border when it is selected becomes invisible), and you will have to use the Layer button to select it or delete it.
You can use several kinds of gradients on images, art and photos. A gradient is a blend of F1 (the primary fill color) and F2 (the secondary fill color), in one of several ways.
To use a gradient, tap Edit, and then tap any of the 4 graphic buttons. The leftmost one is actually no gradient, using only the F1, for Primary fill color. The next one blends from F1 to F2 (the secondary fill color), with F1 at the top of the text, graphic or image, and F2 at the bottom. The next one blends from F1 on the left to F2 on the right, and the rightmost button blends both F1 and F2 and uses the resulting color to fill the selected item.
To apply text effects like outlines, drop-shadows etc. first selecting a text object by taping it once. Tap "edit" then tap "effects". An effect menu will appear, tap the effect you want to use and controls for that effect will appear. Adjust the controls to your liking then press "done" and your effects will be applied.
To clear the artboard and start fresh, tap File, and then tap New. This action cannot be undone, and the contents of the artboard will be lost
You can save a copy of your work anytime, by tapping the File button, and then tapping "Save". A new copy of your work will be saved, with the current date and time and a preview image so you can find it again later in the file picker.
Your work is also saved automatically when you change to another task on your device, or when you kill the app. When you restart the app, the auto-saved version of your work will appear under the name "automatic" in the file picker menu, and you can recover it.
To reload a previously saved copy of your work, tap "File" and then tap "load". You will be taken to the file picker, which shows you a preview image of what your artboard looked like when you saved it, and when you saved it. Touch the entry for your file, and it will be reloaded.
To delete a saved file, swipe the entry in the file picker, and then tap the red Delete button that is revealed. Deleting a file will not affect the current contents of the artboard.
Your artboard can be exported to your camera roll as a high-resolution image. Tap File, and then tap Export.
To start sharing your artboard, tap File and then tap Share. Your artboard can be shared by email, Instagram, Tumblr. It can also be shared as a jpg or png image to other apps, such as box, dropbox or other art apps. The image that is shared has the same high resolution as the image that can be exported to your camera roll
To share via email, tap File, and then tap Share, and then tap Email. Note that email must be set up for your to share via email.
To share via Instagram or Tumblr, tap File, and then tap Share, and then tap tap Instagram or Tumblr. Note that these apps must be installed on your device in order to share to those websites.
To share with any app that is interested, tap File, then tap Share, and then tap "as jpg" or tap "as png". Your device will present you with a list of apps with which you can share your artboard. Not all apps can receive a jpg or png image. Png images allow transparency or alpha to be exported: jpgs do not.
You can add fonts, art, images & other content to Graffwriter any time by spending credits. New Graffiti Fonts will cost 5 credits each & all other items cost 1 credit each. Credits can be purchased at any time & do not expire. For $1 you will receive 6 credits. Credits can also be earned by sharing your artwork from Graffwriter.
Free credits can be earned in the app and added to any credits that you purchase. Free credits are no different then credits that you purchase. To earn free credits you can use the share features in Graffwriter.
Choose any category; Fonts, Art, Stencils, Paint, Backgrounds etc. A menu will appear showing all of the content that you currently have available. Scroll down to view all of the additional content that is available for purchase. Tap any piece of content. A screen will appear showing a preview of the content & giving you a choice to buy the item for use within the app or to purchase a commercial copy of the item for use on your desktop computer. Purchased items will be downloaded to your device & made available in the app. If you have purchased desktop versions they will sync to itunes file sharing when you sync your device.
If you purchase commercial desktop fonts a zip file containing the fonts & supporting files will download to your iPhone or ipad. When you sync your device to your desktop computer the items will be saved in itunes. For art and images simply move the files to any desired location on your computer. To install fonts on your desktop computer first unzip the file then double click on the .ttf or .oft within. Then follow the instructions displayed by your mac or pc.
If you purchase commercial desktop fonts as in-app purchases, you can restore your prior purchases at any type by tapping the Restore button, and your purchases will be re-downloaded at no extra cost, as required by the App Store. You will also receive in-app use of the any commercial fonts you have bought, as if you bought them with credits for in-app use.
Credits cannot be restore, nor can fonts that were only purchased for in-app use. If you have purchased a number of fonts for commercial use and you wish to restore them, it is a good idea to use a wireless network rather than the cellular network, as the downloads can be large.
The file menu provides you buttons that allow you to erase the artboard (New), load an artboard you have saved in the past (Load), and save an artboard that you have created (Save). It also allows you to save your artboard to your camera roll (Export) and to share your artboard with apps that you have installed on your device (Share). External Link Test (Google)